An incubator is a vital piece of equipment in many labs. Common uses include growing microbial cultures or testing the stability of products under various conditions. Professional-grade equipment is usually the best choice as it offers temperature accuracy and uniformity. Plus some incubators come with other features required for certain applications such as refrigeration, CO2, humidity, or shaking.
That said, at its most basic level, a lab incubator is simply a box that holds temperature. If your budget doesn’t allow for professional equipment or you simply don’t need the features of a high-grade lab incubator, you might be wondering if you can get away with a DIY version.
The answer is yes, for some applications, you may be able to use a makeshift lab incubator that you fashion from everyday materials. Indeed, we are seeing a trend of open source lab equipment with folks DIYing everything from magnetic stirrers to rotovaps. And instructions for creating lab incubators abound. A simple Google search will deliver multiple viable results to help you make your very own lab incubator. The costs associated with these designs vary but are relatively low when compared with prices of professional equipment.
Here, we take a look at some of the top “instructables” for creating a lab incubator, examining some of the pros and cons of each.
1. Amino Labs
We’ll start with one of the most simplistic designs we discovered. This incubator is very straightforward and inexpensive to make.
This involves making a simple chamber out of two overturned plastic containers (for example, yogurt or sour cream containers). One container is larger than the other with the larger one stacked on top. A rectangular hole cut in the bottom (when overturned) of both containers lets in heat from the source (a lamp).
Holes in the smaller container allow the heat into the chamber, atop which sits the petri dish.
A small hole in the top of the chamber allows for insertion of a thermometer.
Aluminum reflective tape is added to the outside of the chamber to protect the agar and bacteria from the heat from the lamp.
While this is a quick, simple, and cheap option, it does have its downsides. For one, the small size means it’s only good for one petri dish at a time. Plus the design doesn’t allow for accurate temperature control. Another con is that the agar tends to dry out at the front of the chamber.
2. Bio-Design

Bio-Design for the Real World is a research project that involves the design, building, and testing of prototypes that solve problems in biology and biotechnology. Bio-Design conducted a workshop to come up with a low-cost incubator that utilizes readily available materials. Intended uses include the preparation of cell or bacteria culture or the preparation of fermented food.
The design is fairly technical compared to some others on this list; the authors outsourced the manufacture of a circuit board which is beyond what many would-be DIYers are willing to do. However, it cost a reasonable $50 and could be worthwhile if you’re looking for accurate temperature control. Here are the basic components of the design:
- Styrofoam box (typically used for food such as meat or fish)
- E27 light bulb
- LM61CIZ temperature sensor
- Custom control board
The control board controls the length of time for which the light is on or off depending on the temperature sensor reading. Other components included a cable, plug, socket, bulb socket, and 5V power adapter.
3. Instructables

This incubator goes for accuracy too. It uses a styrofoam box, a temperature sensor, and a light bulb as the heating element. Instead of switching the bulb on and off to control the temperature, it changes the amount of power supplied to the bulb.
During heating the bulb has to emit more heat than is being lost through the incubator walls. Once the incubator reaches the desired temperature, the bulb just needs to compensate for the heat loss.
Researchers controlled the temperature by adjusting the bulb’s AC input using a custom-built AC dimmer. However, this could be dangerous, so is not recommended unless you have experience with electrical.
Another neat aspect of this instructable is its aesthetic. The creators fashioned a wooden housing for the styrofoam box to give it a professional look.
The components required to create this incubator are readily available and the total cost for the builders was around $70. That said, it’s worth reiterating that this is a potentially dangerous venture as it involves working with the mains supply.
4. Sciencing
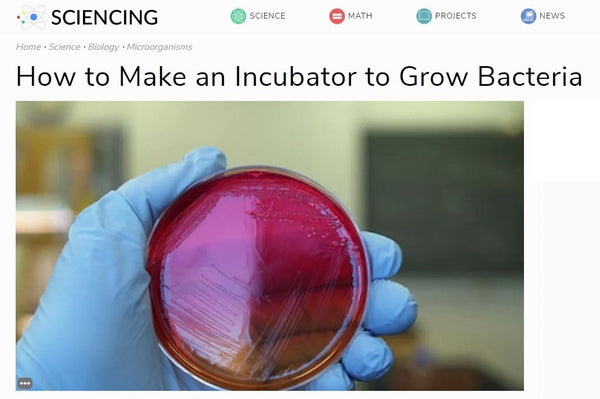
This setup posted on Sciencing uses an aquarium instead of a styrofoam box. Unless you have an old aquarium lying around, this incubator could be quite a bit more expensive than other DIY solutions.
That said, it is quick and simple as very little setup is required. A lamp (purchased from a pet store) with a dimmer switch is used as the heat source and a thermometer is placed inside the aquarium in a spot where it is easily visible. The opening of the aquarium is covered with heavy plastic held in place with duct tape.
5. Pelling Lab

Need a CO2 incubator? We found DIY instructions for that too. Andrew Pelling of Pelling Lab shared his design for an incubator that maintains a CO2 level of 5%. He spent around $350 on materials, with the largest portion of the budget being allocated to a CO2 sensor which cost about $230.
The main components are:
- Styrofoam box lined with an insulating material
- 12V DC fan to move air around
- Flexible heaters
- Heatsinks which doubled as shelving mounts
- Scrap metal shelving
- 1-wire DS18B20 digital temperature sensors
- CO2 sensor
- CO2 source (SodaStream tanks were used in this design)
The author notes that you could use a large CO2 tank but that these represent considerable safety risks.
6. The Thought Emporium
This design from The Thought Emporium is a slightly more expensive but arguably sleeker alternative to the styrofoam box and light bulb solution. It uses a cooler, a reptile heating pad, and a heating pad controller. The total cost to build this incubator was $80.
Using a plastic cooler provides a more robust and better-looking incubator, but it’s easier to drill holes in styrofoam than plastic. However, if you find a cooler with a drain hole, you won’t need to worry about drilling.
7. Science News for Students

These instructions from Science News for Students use a similar setup to the styrofoam box models above. However, it’s more simplistic in that it doesn’t include a temperature control device. Instead, the creators recommend that you keep an eye on the temperature and cut additional holes in the box if it gets too warm. While this is rudimentary temperature control, it could be a good solution if you don’t want to deal with additional electrical components.